Mastering Homemade Air Fryer Bread for the Perfect Loaf
Making homemade bread can feel like an intimidating task, but with an air fryer, it has never been easier. Air fryers are an incredible tool for home bakers, providing the ideal balance of heat and airflow that results in a golden crust and a soft, fluffy interior. Whether you’re a seasoned baker or a beginner, this recipe for homemade air fryer bread is both simple and rewarding. The bread comes out perfectly every time, with minimal effort and in a fraction of the time compared to traditional baking methods. The best part? You don’t need a conventional oven, and you can make fresh, homemade bread right in your air fryer.
The process of baking bread in an air fryer is incredibly straightforward and requires just a few basic ingredients. While traditional bread recipes often involve complex steps and long rising times, the air fryer method significantly reduces both prep time and cooking time. It’s the perfect solution for busy bakers who want to enjoy the aroma and satisfaction of freshly baked bread without the lengthy wait.
In this guide, we’ll take you step-by-step through the process of making this simple, delicious air fryer bread that’s soft on the inside and topped with a crisp golden-brown crust. You’ll learn how to use your air fryer to create a perfect loaf, and we’ll also dive into tips and tricks to ensure your homemade bread turns out perfectly every time.
Why Choose the Air Fryer for Bread?
Air fryers have become popular for cooking everything from crispy snacks to savory meals, and now they’re being used in the world of baking. The main benefit of using an air fryer for bread is the consistent, hot air circulation that mimics the effects of a conventional oven but with much faster cooking times. Additionally, an air fryer’s compact size means it heats up quickly and can bake smaller loaves in a fraction of the time.
Traditional bread baking in an oven requires a preheated oven and longer bake times. However, with the air fryer, you can skip the preheating process and reduce the overall cooking time. For example, while a typical bread loaf in the oven might take 25-30 minutes to bake, using an air fryer can reduce this to just 10-12 minutes.
Another advantage of baking bread in the air fryer is the moisture retention. The air fryer’s rapid airflow helps retain moisture within the dough, which results in a soft, airy bread that still maintains a beautiful, crisp crust.
For many, baking bread in an air fryer is not just about convenience, but also about achieving better results. The bread comes out consistently light and airy with a perfectly golden-brown top. So, if you’re eager to create a loaf of bread without much hassle, this recipe is ideal.
Key Ingredients for Homemade Air Fryer Bread
This air fryer bread recipe uses basic, pantry-friendly ingredients. Let’s break down each one:
- Active Dry Yeast: Yeast is essential for making the bread rise and gives it the characteristic airy, soft texture. It’s important to activate the yeast by dissolving it in warm water, which helps the yeast bloom and start the fermentation process.
- Warm Water: The warm water is needed to activate the yeast. Ensure the water is not too hot, as it can kill the yeast. The ideal temperature is around 100°F to 110°F.
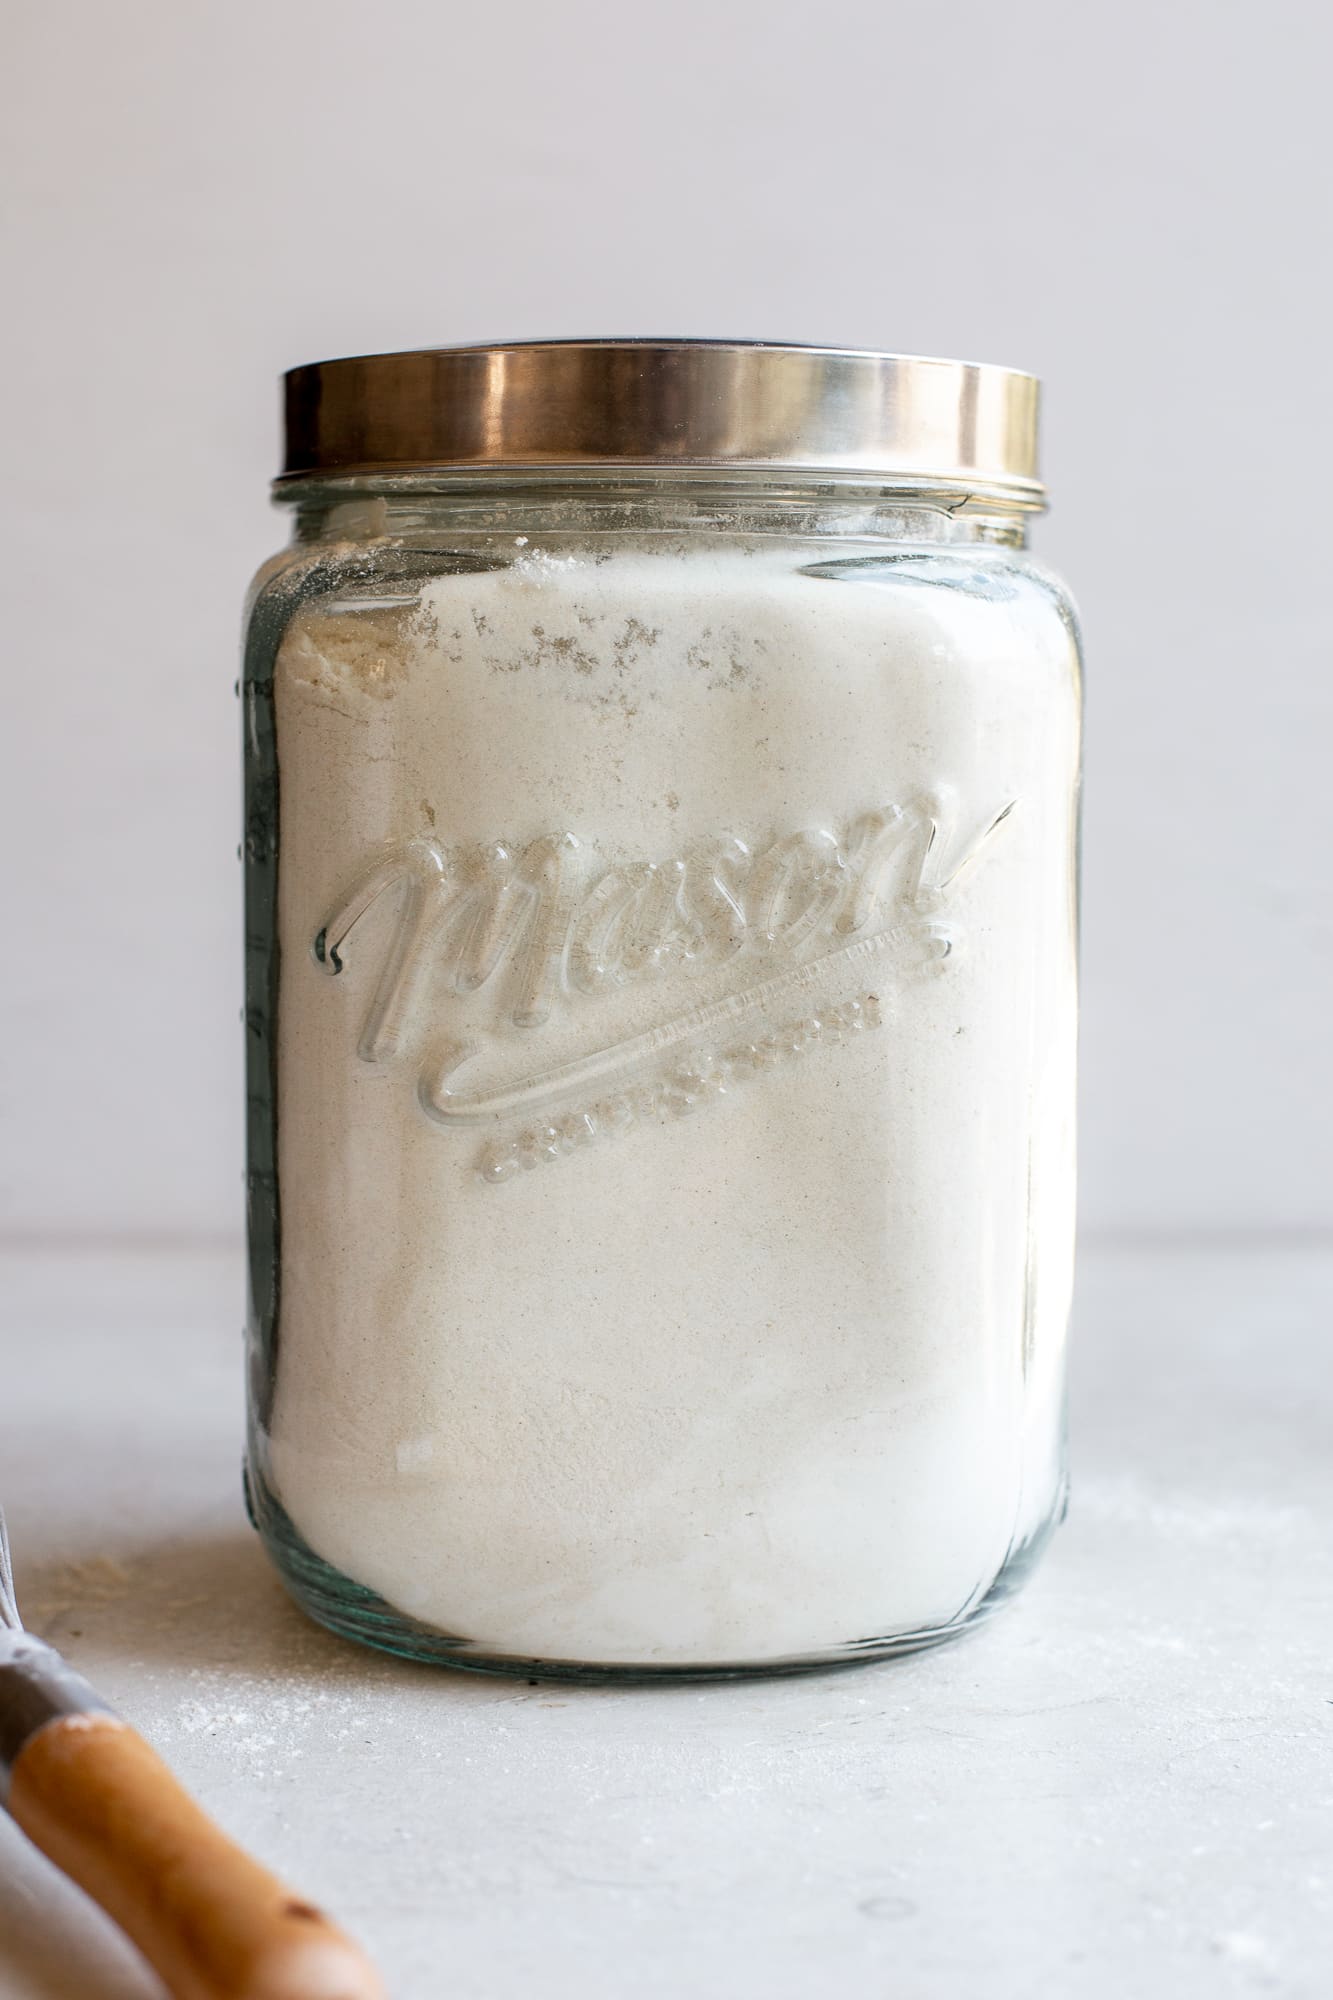
- All-Purpose Flour: This is the main base of the dough. All-purpose flour is perfect for bread because it provides the right balance of gluten to create a chewy, soft texture.
- Granulated Sugar: The sugar helps feed the yeast, encouraging it to rise. It also contributes a slight sweetness to the bread.
- Salt: Salt adds flavor and enhances the overall taste of the bread. It also helps regulate the yeast’s activity to prevent it from over-fermenting.
- Milk: Milk helps add moisture to the dough and contributes to a soft, tender crumb. You can substitute with any plant-based milk if you prefer.
- Unsalted Butter: Butter gives the bread a rich flavor and a soft, moist texture. It also helps with the browning of the crust.
- Egg Wash: The egg wash is brushed on top of the loaf before air frying to create a beautiful, glossy, golden-brown crust.
How Air Fryer Bread Works: A Step-by-Step Breakdown
While the process is simple, achieving the perfect loaf takes some care and attention. Let’s walk through each step of the recipe and see how you can achieve success with your air fryer bread.
Step 1: Activating the Yeast
The first step in the process is activating the yeast. In a small bowl, combine the warm water and yeast. Let it sit for about 3-5 minutes until the yeast blooms and becomes frothy. This indicates that the yeast is active and ready to work its magic in the dough. If the yeast doesn’t froth, it may be expired, and you’ll need to try with fresh yeast.
Step 2: Mixing the Dough
Once the yeast is activated, combine the rest of the ingredients in a larger mixing bowl. Add the all-purpose flour, sugar, salt, milk, and softened butter to the yeast mixture. Stir gently with a wooden spoon or spatula until the ingredients come together. The dough will start to feel slightly flaky and rough at this stage, but that’s perfectly fine.
Step 3: Kneading the Dough
Turn the dough out onto a floured surface and knead it for about 5-7 minutes. The goal is to work the dough until it’s smooth and elastic. This kneading process helps develop the gluten in the flour, which gives the bread its chewy texture.
Step 4: Shaping the Dough
Once the dough is kneaded and smooth, form it into a round ball. This shape helps the dough rise evenly and bake properly in the air fryer.
Step 5: Resting the Dough
Place the dough ball into your air fryer basket. Cover it with a clean kitchen towel or plastic wrap, and let it rest for about 30 minutes. During this time, the dough will rise and double in size. It’s important to let the dough rest for this period to ensure that the bread is light and fluffy.
Step 6: Applying the Egg Wash
After the dough has risen, brush the top with an egg wash. This step is essential for achieving a golden-brown, shiny crust. The egg wash is made by whisking a large egg and applying it gently to the surface of the dough.
Step 7: Air Frying the Bread
Set the air fryer to 320°F and air fry the bread for 8-10 minutes. Keep an eye on the bread as it cooks, and check the top for a golden-brown color. Depending on the size of your dough and the specific model of your air fryer, the baking time may vary slightly.
If the bread isn’t golden enough after 8-10 minutes, you can add an extra minute or two to achieve the perfect crust.
Step 8: Cooling the Bread
Once the bread has baked, remove it from the air fryer and let it cool for a few minutes before slicing. This allows the texture to set and makes it easier to cut.
Simple Air Fryer Bread Recipe
Ingredients:
- 2 ¼ teaspoons active dry yeast (1 packet)
- ¼ cup warm water
- 2 cups all-purpose flour
- 2 tablespoons granulated sugar
- ½ teaspoon salt
- ½ cup milk
- 2 tablespoons unsalted butter (softened)
Egg Wash:
- 1 large egg (whisked)
Instructions:
- Activate the Yeast: In a small bowl, combine the yeast and warm water. Let it sit for 3-5 minutes until frothy.
- Mix the Dough: In a large bowl, mix the flour, sugar, salt, milk, and softened butter. Stir until the dough comes together and is slightly flaky.
- Knead the Dough: Turn the dough onto a floured surface and knead for 5-7 minutes until smooth.
- Shape and Rest: Shape the dough into a ball and place it in the air fryer basket. Cover with a kitchen towel and let it rise for about 30 minutes, until doubled in size.
- Brush with Egg Wash: Brush the top of the dough with the whisked egg for a golden finish.
- Air Fry the Bread: Set the air fryer to 320°F and bake for 8-10 minutes until golden brown. Add 1-2 minutes if necessary.
- Cool and Serve: Let the bread cool for a few minutes before slicing and serving.
Enjoy your perfectly baked, homemade air fryer bread!